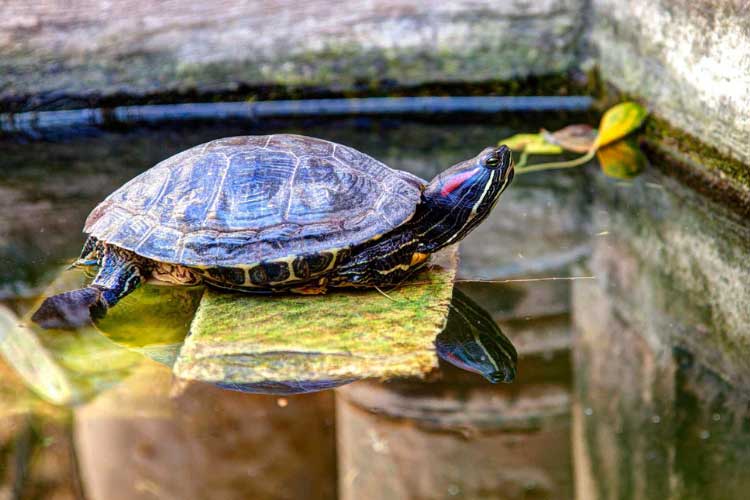
How To Create A Red-Eared Slider Basking Platform
Commercial basking docks aren’t a favorite for everyone and may not always work for some turtle tank setups. In this case, you can go the DIY way and build your own basking area from scratch. But how exactly do you make your own basking area that’s safe and comfortable for your red-eared slider?
To create a red-eared slider basking platform, you can stack flagstone, paver stones, bricks, panels of tiles, or large stones on top of each other, You can also use natural wood log for the basking area but it’s less stable and durable compared to stone.
In this guide, we have discussed more helpful details on how to come up with a safe and comfortable red-eared slider basking area, including DIY basking platform ideas, and other tips for building a safe and comfortable basking area for your pet turtle.
How to create a red-eared slider basking platform?
Contents
When it comes to providing your red-eared slider a dry land or basking platform, you usually have two main options—a commercial or a DIY turtle basking platform.
However, the store-bought platforms are usually small and may not be comfortable for your pet.
Besides, they’re mainly made of plastic which is a poor conductor of heat and may not help with thermoregulation in your red-eared slider.
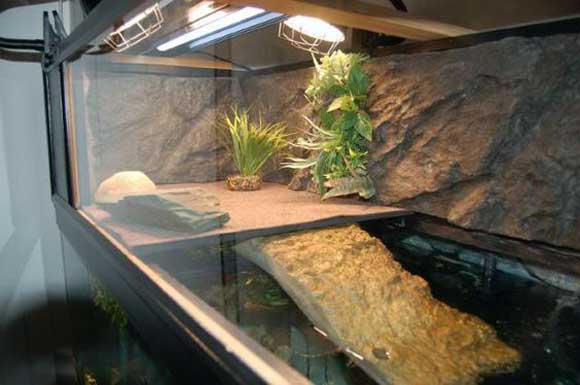
While these platforms may serve their intended work, they’re not the best.
This leaves you with building your own turtle basking platform as the better option.
Luckily, a DIY basking dock is easy to build and requires no special expertise. It’s also inexpensive and you’ll use materials readily available in your home.
Here are some great red-eared slider turtle basking platform ideas to consider:
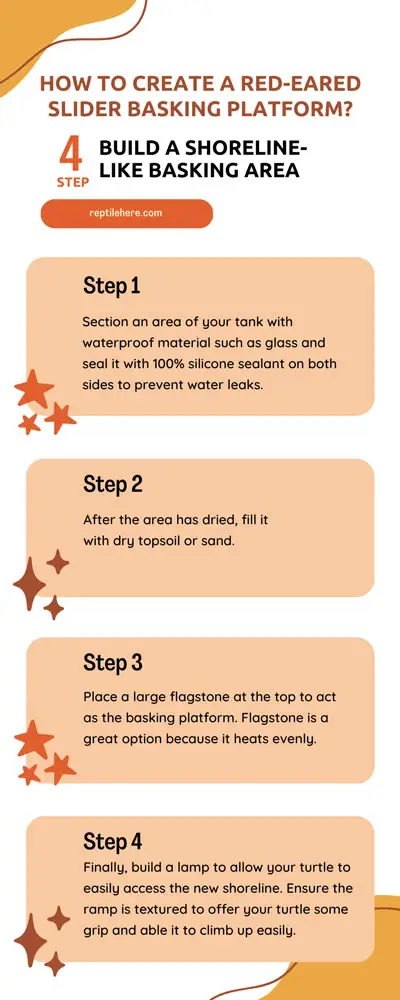
Build a shoreline-like basking area
If you want to provide your slider with a large turtle basking platform, then this style of basking platform will be a great option for you.
As the name suggests, it involves creating a shoreline-like basking platform in your turtle tank.
Follow the steps below to create a shoreline-like basking platform:
Step 1. Section an area of your tank with waterproof material such as glass and seal it with 100% silicone sealant on both sides to prevent water leaks.
Step 2. After the area has dried, fill it with dry topsoil or sand.
Step 3. Place a large flagstone at the top to act as the basking platform. Flagstone is a great option because it heats evenly
Step 4. Finally, build a lamp to allow your turtle to easily access the new shoreline. Ensure the ramp is textured to offer your turtle some grip and able it to climb up easily.
Note that this type of platform takes up a significant amount of space, so it’s only practical if you have a big enclosure and want a large basking area for your red-eared sliders.
Above tank basking platform
If you want to create a basking area without affecting the existing swimming space in the tank, then an above-tank is a good choice.
Also known as a turtle topper, this type of basking platform sits on top of the tank, helping maximize your pet’s swimming area. A DIY topper can be customized to provide more walking space for your turtle.
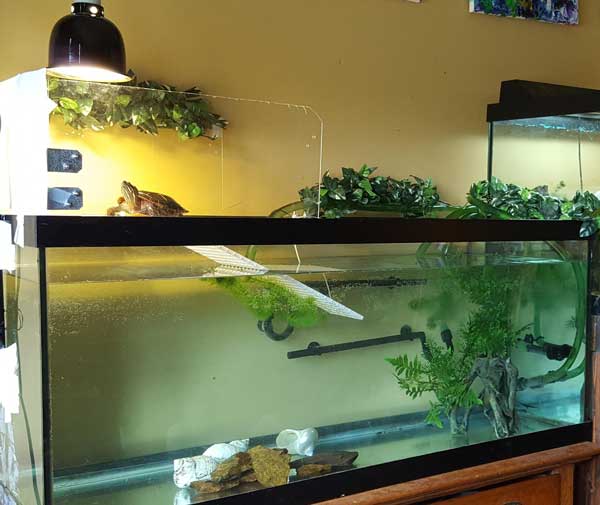
You’ll also need to provide a ramp to offer your turtle easy access to it.
You can put sand or soil in the topper and a stone at top to act as the basking surface. Also, be sure to build walls to keep your turtle from escaping.
Check out this YouTube video tutorial for DIY turtle basking area egg crate style for red-eared slider:
Video:
Island-style basking platform
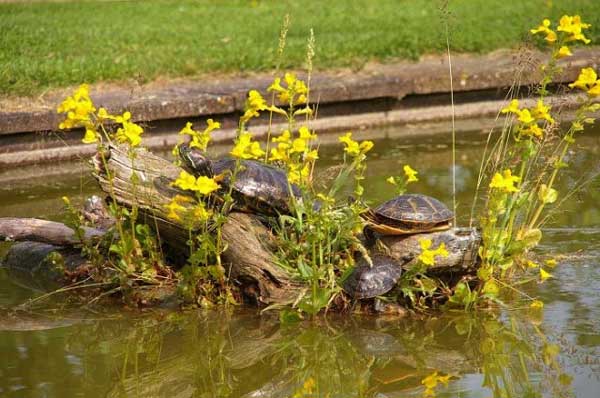
Another method of creating a red-eared slier basing platform is to stack rocks, tiles, or wood in the middle of the enclosure, hence the name island platform.
For this project, you can choose to stack flagstones, a panel of tiles, bricks, paver stones, etc. Place them on top of each other from the bottom of your tank.
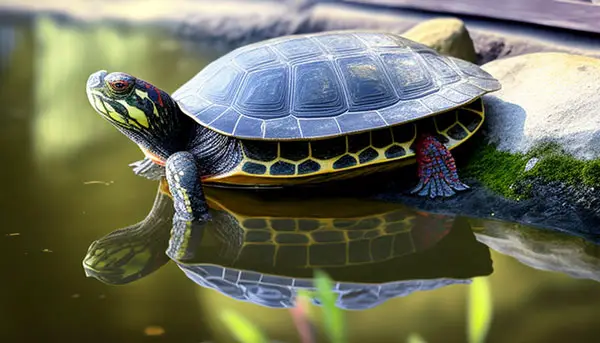
You can also use natural wood for this type of platform. But keep in mind that it may leach compounds into the water and affect the water quality.
Plus, wood is less stable since it’ll be floating in the water.
DIY floating platform
Probably the easiest DIY basking platform for your red-eared slider would be a floating platform. This is the best option if you have a small-sized pet turtle in a small indoor tank enclosure.
Here, you simply place a natural wood, e.g. driftwood logs onto your turtle tank surface such that it floats in the water. You may use fish wire to support driftwood pieces to form a stable structure.
How do you make an above-tank basking area for turtles?
We’ve already discussed an above-tank or turtle topper basking area above and how it helps maximize the swimming area for your pet turtle.
If you’re interested in making above tank basking area for your red-eared slider, you can check out these redearedslider and Our Reptile forums basking area threads for inspiration from other turtle owners.
You can also check out this full DIY tutorial on how to come up with a turtle topper from start to finish.
We also came across this YouTube tutorial showing you how to come up with a DIY above-tank basking dock for around $58 only!
Video:
How to create a naturalistic turtle basking area for red-eared slider?
You can use driftwood, large basking rock for turtle, or any other suitable flat, semi-float surface to create a natural-looking basking platform for your red-eared slider.
For the stone, make sure it’s large, smooth, and stable for your RES to comfortably bask on. Avoid using any smaller stones that your turtle may easily dig out of their position. Medium to large stones is recommended.
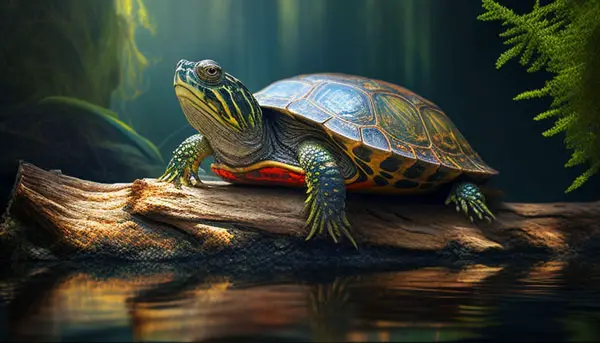
To make the basking platform 100% naturalistic, you’ll also need to equip it with UVB lighting to imitate the natural sunlight, heat lamp to maintain optimal temperatures, substrate, and some safe live plants that are non-toxic for your pet.
How far should a basking light be from the basking area?
The ideal basking light placement from the basking surface depends on the type of light you use.
If you’re using fluorescence UVB light, put it around 4 to 6 inches from the surface. For mercury vapor UV light, place it within a foot of your pet to maximize UVB absorption.
Putting the light too close may overheat the basking area and burn your turtle in the process. Maintaining the temperature between 90 to 95 degrees Fahrenheit is recommended.
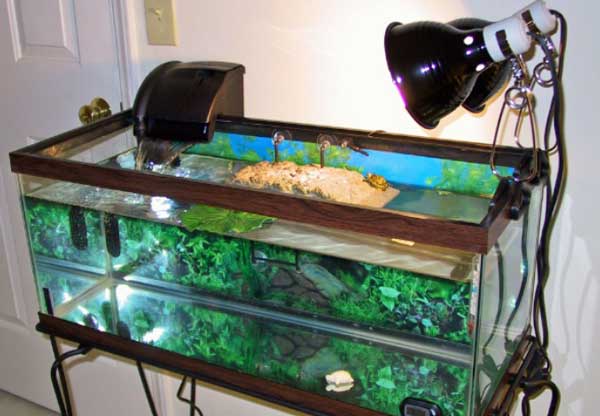
If you plan to put a heating lamp on the basking dock as well, then its ideal distance will depend on your lamp wattage. Bulbs with higher wattage should be placed farther from the basking area to avoid burning your turtle.
Part of your red-eared slider basking platform setup involves providing a basking light to help provide the UV rays needed for vitamin D synthesis.
However, you should be mindful of how far or close you place it on your pet turtle to ensure it enjoys maximum UV light exposure.
Do red-eared sliders need a basking area?
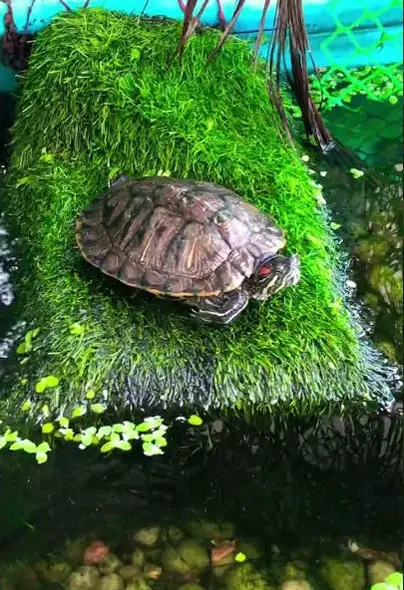
A basking area is crucial for red-eared sliders as they’re semi-aquatic creatures and need to spend time on the land as well.
In your enclosure, the basking platform will be the land section and will give your turtle a place to regularly dry off its body, relax, and soak in UVB light.
UV light is essential for vitamin D3 production and proper calcium metabolism and prevention of metabolic bone disease.
That said, ensure you provide your red-eared slider with a spacious basking platform where it can comfortably get out of water and rest.
It should be able to hold the turtle’s weight and size and even enable it to turn around. It should also feature no sharp surfaces that may injure your turtle.
FAQs:
A red-eared slider can go without basking for only a few weeks. But after a month, your turtle may start showing health problems. A baby slider needs UV light even more, and may only go for a few days without basking before it starts experiencing health repercussions.
The reasons your red-eared slider isn’t basking could be due to poor water or basking area temperatures new environment, or an inaccessible basking platform. An aggressive tank mate or your presence may also cause your slider not to bask as it will feel it’s safe to do so.
You can use large pieces of wood to create floating basking platforms for your pet turtle. However, make sure you use wood that’s untreated, mold-resistant, durable, and doesn’t leak toxins into your turtle tank. Avoid grapevine, conifer, and pine woods as they’re toxic to your people.
Final Verdict
Creating a basking spot for your red-eared slider pet turtle is far much better than getting a store-bought one. You can easily customize a DIY platform according to your preferences. You can also choose the style of the platform to make, whether you want a floating, island, or above tank design.
Hopefully, you can now come up with a good basking area for your red-eared slider after reading this guide. The various DIY basking spot options we’ve provided you in this guide will help you choose a style that matches your enclosure size and personal preferences.


